***Paint Classes***

***Paint Classes***
CLASSES HELD AT YOUR DESIRED VENUE

Friday, July 26, 2013

Christmas in July-Vintage Tag

Happy Friday!

We're winding down with Christmas in July.  I wanted to share a Christmas tag I made today.

I wanted to encourage you to stretch outside the box on creating Christmas themes.
Today I used Graphic 45 French Country paper for most of my tag. I did sneak in a small square of Tim Holtz paper with the Christmas words. 

I have a new stamp from Hampton Arts: Square Face Frame.  I definitely wanted to use her some way.

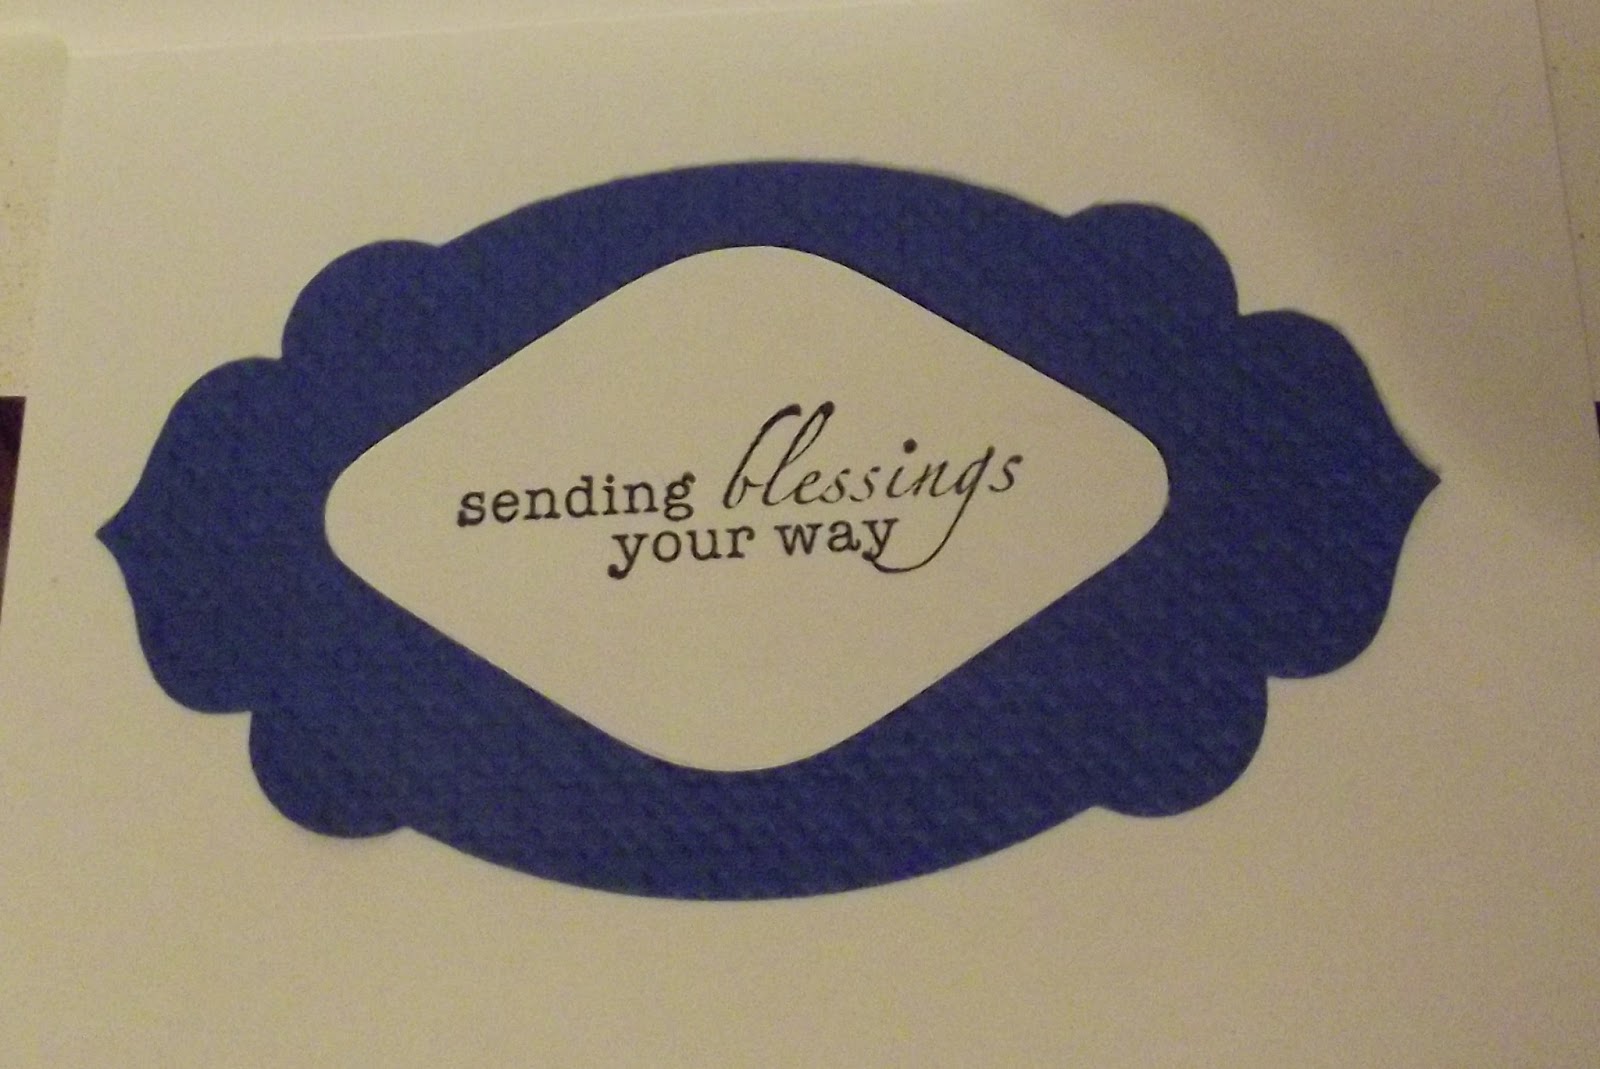
So here's what I came up with:


I mounted my face onto a piece of cardboard, colored her with prisma pencils.  Coated it with glossy accents.  
I have a small piece of cheese cloth in the back, some lace and velvet ribbon on the bottom.  A couple of vintage buttons.
I love how it turned out!  
I hope this inspires you to get your Christmas groove on!! 

You can find all the products I used at our shop  HERE-Outlaw Women Scrapbook Emporium

Our prices are always 20-25% off retail. 

Thanks for stopping by!


Thursday, July 25, 2013

Mixed Media Technique

I shared this technique with my OWSE group.  We have art technique class every Wednesday evening at 7PM.  I hope you'll join us.

 I found these butterfly images on pintrest-free!  Printed and fussy cut them.  Used collage glue to attach to my 8x10 canvas. (as well as that scrap piece of DP) I made a gesso wash by adding some water to my acrylic gesso (Traditions gesso) and went over top of my beautiful butterflies.  Dry well before moving on.
 I mixed a rust and turquoise color using traditions acrylic paint.  Smeared across my canvas with a palette knife. Dry really well before moving onto the next step.
Apply another wash of gesso on top to dull own the color and push everything to the background. Allow to dry well.
 Using a 3x4 stamp (Hero ARts) I stamped from top to bottom with brown Archival Ink. As you can see-it doesn't matter that its the same pattern-it blends into the background.   I also did the same thing using some words stamps and black archival ink.  If it's still darker than you want-do a last wash with gesso and dry.
 Then add your embellishments and words. 
The words is from a Christian song by Johnny Diaz-More Beautiful you.

 Here's a close up of my chipboard bird. I put gesso on it, painted then stamped and coated it in crackle medium. Turned out so cool!  I used one of my background butterflies to put on the back of my Prima Riley Stamp. Loved that too!


More Beautiful you will be for sale at my Etsy store. HERE

Tuesday, July 23, 2013

Dream on Whimsey Girl Mixed media


I love drawing whimsey girls. They are sweet, imperfect and fun!
This girl was colored with prisma pencils, fussy cut and glued onto a flat canvas board.
 I altered some chipboard elements to add for dimension.  Can you see the clear rain drops on the leaves?  The butterflies were cut, inked around the edges an I added a pearl in the middle.  There's some gold smooch around a lot of the edges of all the pieces.

 I scattered some pearls in her hair.   When done, I spritzed some pearl spritz on top of it all.
The lace was attached to the back of the board. 
This piece would look great in an open frame or hung by itself.

 You can buy it at my Etsy store.  KC Inspired Etsy Shop

Thanks for looking! Have a blessed day!


Saturday, July 20, 2013

Patriotic Arch Swap with OWSE

I'm in a monthly swap with my Outlaw Women.  For July our theme is Patriotic.
I remembered seeing this cute FREE vintage graphic at Graphic Fairy.  You should check her website out-there are so many beautiful FREE images to chose from!

Friday, July 19, 2013

Just Being You

I loved the July sketch at C'est Magnifique. 
I used Teresa Collins paper. Started out beige, white and black.  Added some gesso with a credit card then spritz spray inks.  I painted some store bought chipboard flowers and a heart to make them more "artsy" and to add interest to the flat piece. 

The picture is my granddaughter and I on Mother's Day.  She's growing up so fast!  I love scrapping her!

The kits at C'est Magnigique are wonderful! I hope one day to get one myself. In the meantime, I'll scrap with the paper I have.

Christmas in July-Mini Album Style @ OWSE

We're still celebrating Christmas!  It's been fun -not sure I'm going to stop at the end of the month! LOL.
Today I'm bringing you a mini album with a different binding technique.  It's made with paper bags.  I've used the cheap brown lunch bags.  Since my style is usually vintage-brown is always a nice backdrop.

Here's the binding tutorial http://www.youtube.com/watch?v=DPscV6GA9wA

 There is tons of room in these paper bag minis.  I have only one tag on the inside of each pocket, but you could easily fit 2 more or slide things you want to keep up with inside.
 There are tag pull outs inside each bag.  I used three bags.  Cut the ends off and ended up with a 5x5 area to put the designer paper in.  When you glue a corner on a page-only attach the outside edges with glue -that way you can slide a picture under the edge to hold it in place.
Here are the supplies I used from our Outlaw Women Scrapbook Emporium

Tim Holtz Christmas Stamps: holly limb, pine cone & sentiment
MME Christmas 6x6 pad paper
cardstock
adhesive
ribbon
Ranger Vintage photo distress ink
Paper cutter

I hope you like the mini.  It will stand as well as lay out nicely on a coffee table. I love displaying my pictures in such an interesting way.  Please let me know if you have any questions.

Thanks for stopping by!
Karen C

Friday, July 12, 2013

Merry Christmas @ OWSE


Merry Christmas! @ OWSE

Now that I've started making Christmas cards-I'm all about it! LOL

Today I'm using scoreboard and stylus to add some interest to the white cardstock.
I've used a 1 1/4 inch circle punch to make my ornaments.
Some MME 12 Days of Christmas DP, red ribbon, glossy accents.
If you dont have silver paper for the tiny tops of the ornaments-do like it did and emboss it in silver.

Most of these items can be found in our shop located here.

Check Outlaw Women Scrapbook Emporium-you can save 20-25% EVERYDAY!!!!


Friday, July 5, 2013

Christmas In July


Mojo Monday has reach 300 challenges!!
I'm entering a second time-they have a ton of prizes going on.

Check it out here:  Mojo Monday

Paper Artsy Technique


Over at Paper Artsy they have Sue Carrington hosting.  I loved her technique.
I'm entering their challenge.
Check it out here:  http://blog.paperartsy.co.uk/2013/06/winners_30.html

I Believe in Miracles!


My third post today! I'm on a roll!

Mojo Monday is celebrating 300 challenges!  Isn't that a terrific accomplishment?
I couldn't let that pass without playing along.

This sweet itty bitty stamp was perfect.  I dolled her up with some skeleton leaves and twine.
Colored her with prisma pencils. Used distress ink around all edges.
I entered Mojo Monday and Unity Friends with Flair

Unity Friends-Every Breath


I'm happy-happy-happy today!  I'm having a long weekend.  
Hope everyone had a wonderful celebration for the 4th. 
My Dad's a veteran and we don't take our freedom for granted.

I've also been blessed to be an 8 year cancer survivor-so I don't even take a breath for granted.

The Unity Stamp set Every Breath says it all.
 I painted this glimpse of the ocean on mixed media paper using Traditions paint.  Stamped the Unity sentiment and cut it out with Stampin Up Apothecary Accents.  I love those die cuts!
Here's the inside of my card.


I love how it turned out.  Have a Happy Friday-and please don't take our freedom nor our breath for granted! HUGS!!

Tutorial Drawing /then painting


Here's the top of a pizza box from one of our local pizza places. 


I noticed he had a handdrawn sign in his window-Frank's Pizza.  He's been in business for years and years.  He deserves a better sign.


I started with a piece of Acrylic 185 pd paper by Canson.  I used Tradition paints. 
painted the whole paper with Raw Sienna.
So-to get the lines in perspective, I drew a grid on the pizza top.  Then I lightly sketched the basic portion on top of my basecoat.
Painted the rest with Naphtol Red Light and Hansa Yellow mixed, made beige with Raw Umber, white and raw sienna. The dark areas were black and black and white.

When I liked what I had, I used a water brush and a mixture of Tsukineko Walnut Ink Antiquing solution in walnut and cornflower colors.

To get the words, I then hand drew them with a Zig Artist Sketch pen.

You can find most of these products at http://ididitcreations.com/club/

I love how it turned  out.  I hope Frank does!  Have a great Friday!

Fluid Art with DecoArt Interference Paint

I've been experimenting with fluid art.   Trying to get cells to create is hard! I've tried multiple mediums, multiple products.  Th...